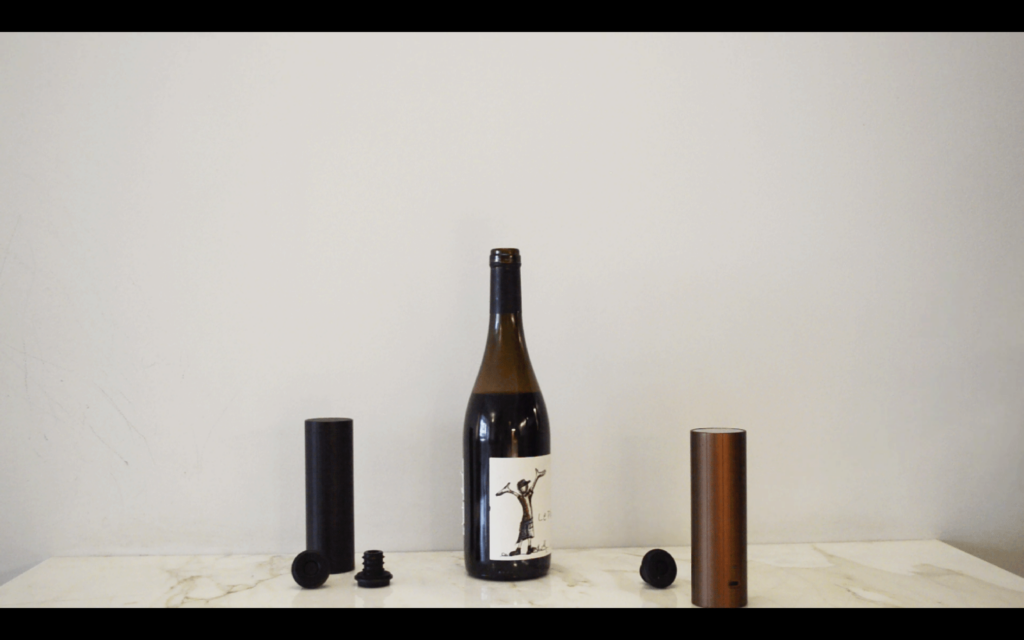
1/ Place the opened bottle on a stable, horizontal surface, preferably low down (no higher than a dining table).
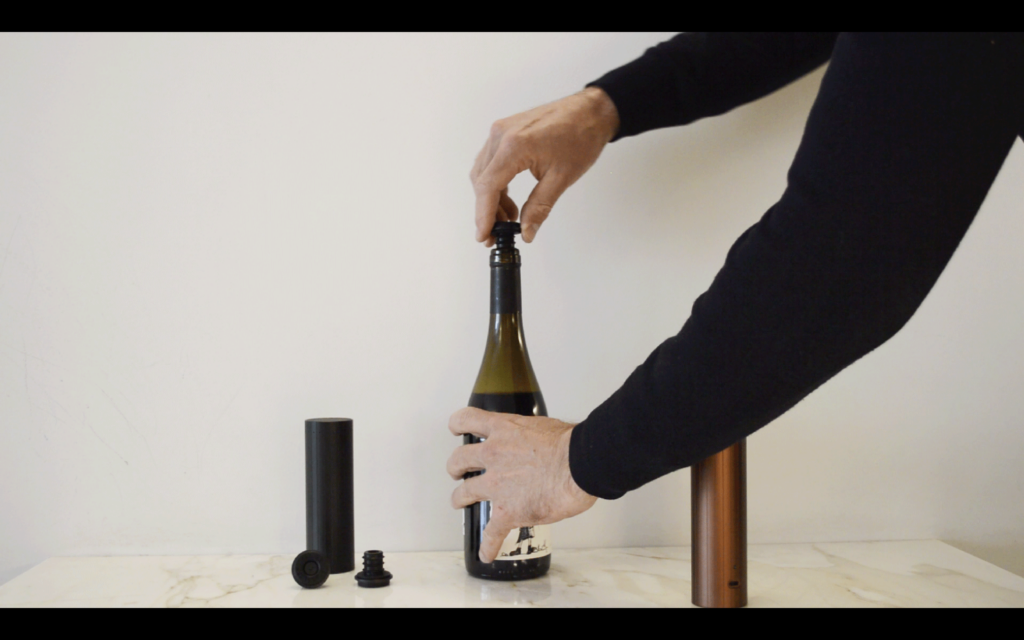
2/ Insert the technical stopper into the bottle neck. Make sure it is fully and correctly inserted before moving onto the next step. If necessary, rotate it while pressing down: this will help the three airtight ridges settle perfectly into place. To make a new stopper easier to use the first few times, try holding it under warm for several seconds.
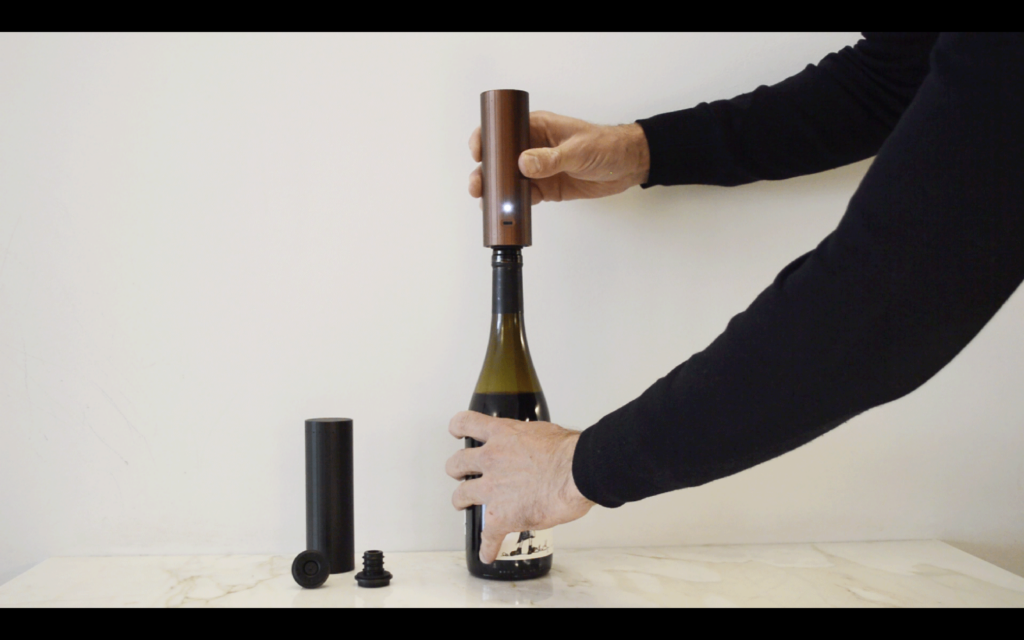
3/ Slot the lower part of the pump over the stopper, having initially charged the pump overnight at least. Make sure it is completely central, then press downwards gently but firmly, without applying force. The vacuuming process will then start automatically.
4/ A beep will sound when the vacuuming process is complete. It may take between 5 and 15 or a maximum of 20 seconds, depending on the amount of wine left in the bottle. The pump is intentionally calibrated to perform the vacuuming process gradually and gently, so as not to damage the wine.
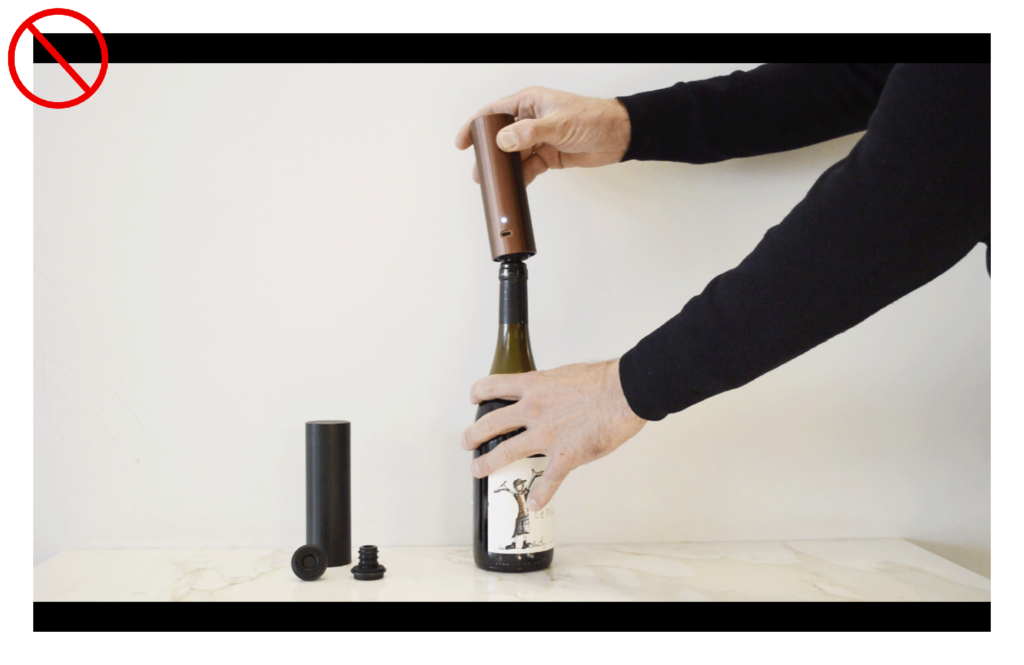
5/ Three short beeps or one long beep during the first three seconds of the process is an indication that it has not worked properly, usually because the pump is not completely central over the stopper or because the stopper was not inserted correctly. If this is the case, simply go back to step 2. Alternatively, the pump may not have been held sufficiently straight, or may have been started up too abruptly.
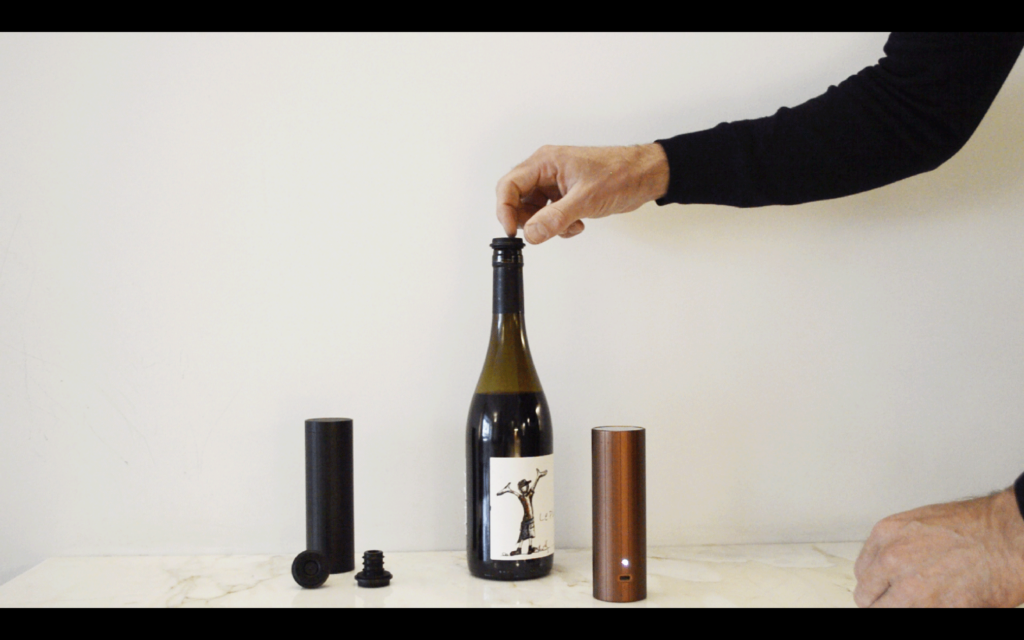
6/ Turn the numbered ring on the stopper to log the date the bottle was sealed.
7/ When you decide to unseal the bottle, we recommend that you open the central valve on the technical stopper by moving your fingertip from left to right. This will extract the air automatically and make it easier to remove the stopper from the bottle neck.
It may take a few attemps to become at ease with using this device, and that is quite normal. We advise you to take your time and enjoy using the pump, since we firmly believe that finding pleasure in each step is key to a successful wine tasting ritual.
Happy wine tasting.


